![]() Editing
existing e-mail accounts:
Editing
existing e-mail accounts:
To edit e-mail accounts in SeaMonkey Mail, follow these steps:
On the Toolbar, click Edit and select Mail & Newsgroups Account Settings from the menu.
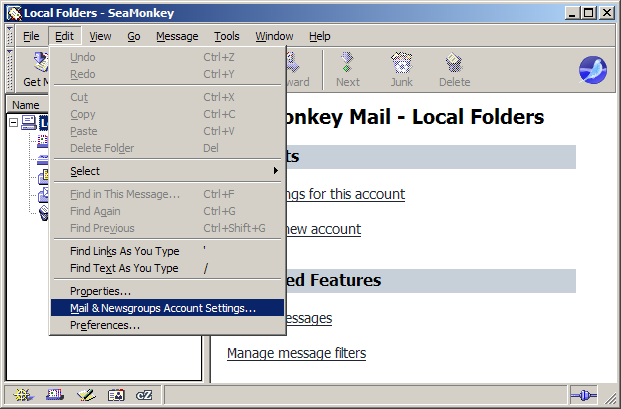
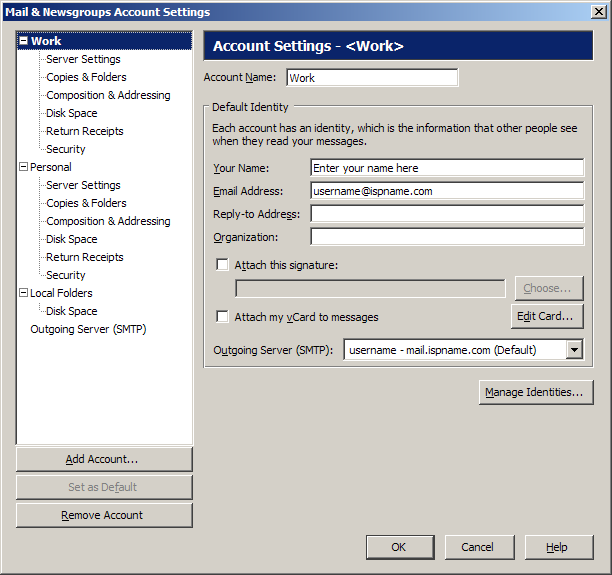
The Mail & Newsgroups Account Settings window opens.
Highlight the name of the account. In this example, I highlighted "Work".
To the right you'll see a few fields.
Account Name =
Enter a name for the
account. It can be anything you wish. Make is distinctive to help
distinguish it from any other accounts you may create.
Your Name = Enter your name.
Email Address = Verify the spelling of the e-mail
address of the account.
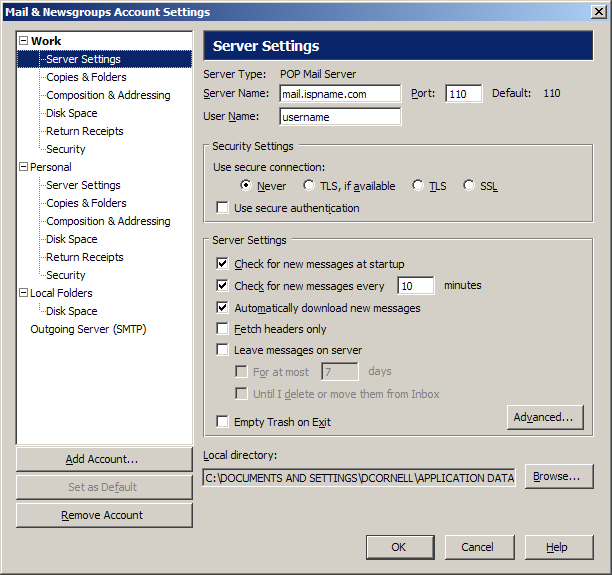
Highlight Server Settings.
Server
Type =
This should be a POP Mail Server.
Server Name =
The Incoming (POP3) mail server usually follows this format: mail.ispname.com
(or .net). Replace the "ispname.com
(or .net)" with your ISP's name.
User Name = Enter your e-mail username (everything before the @). Port = This should be the default setting: 110.
Important: Do not enable Use secure connection (SSL).
SMTP authentication is required to send e-mail. Without this enabled, you will receive errors when trying to send e-mail. SMTP authentication helps deter would-be spammers from spamming you.
Highlight Outgoing Server (SMTP).
Outgoing Server (SMTP) settings:
Highlight your outgoing server and click the Edit button.
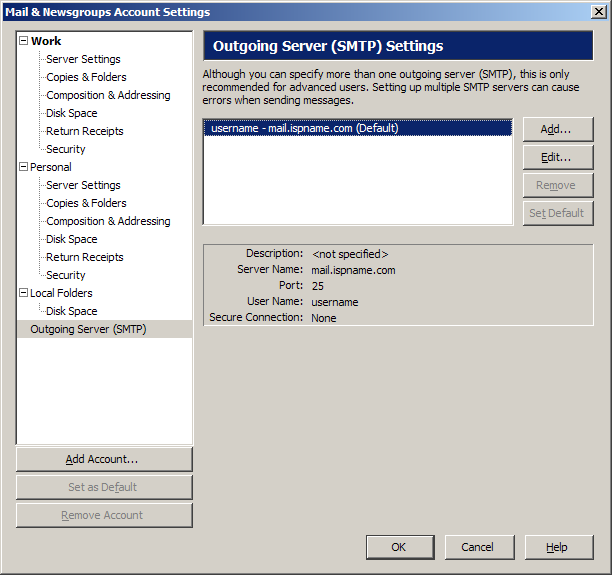
The SMTP Server window appears.
Settings:
Description = If you wish, give the
server a name.
Server Name =
The Outgoing (SMTP) mail server usually follows this format: mail.ispname.com
(or
.net). Replace the "ispname.com
(or .net)" with your ISP's name.
Port =
The default port number is perfect:
25.
Security and Authentication:
Check the box Use name and password.
User Name = Enter your e-mail username (everything before the @).
Click OK when finished and close all other windows.

Links: Return to top