![]() Create your first e-mail account:
Create your first e-mail account:
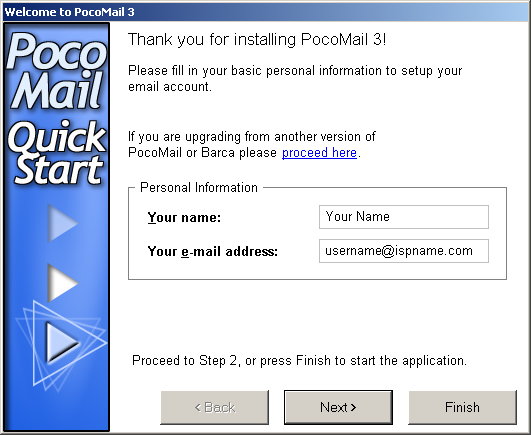
The first time you start PocoMail the following set-up wizard launches:
This wizard will guide through an e-mail account configuration process.
Personal Information:
Your name = Enter your name or a
nickname.
Your e-mail address = Enter your e-mail address.
Click the Next button to continue.
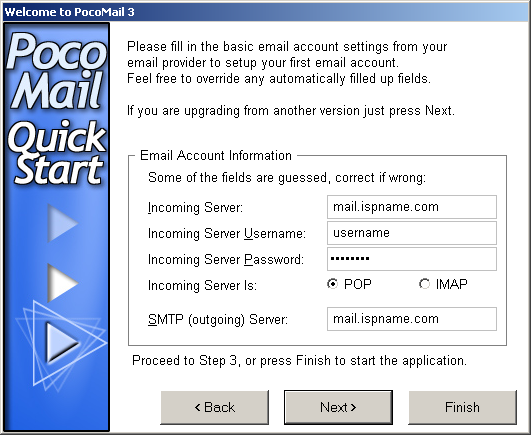
Email Account Information:
Incoming Server =
The Incoming (POP3) mail server usually follows this format: mail.ispname.com
(or .net). Replace the "ispname.com
(or .net)" with your ISP's name.
Incoming Server Username =
Enter your e-mail username (everything before the @).
Incoming Server Password = Enter your e-mail password.
Incoming Server Is = Select the option POP.
SMTP (outgoing) Server =
The Outgoing (SMTP) mail server usually follows this format: mail.ispname.com
(or
.net). Replace the "ispname.com
(or .net)" with your ISP's name.
Click the Next button to continue.
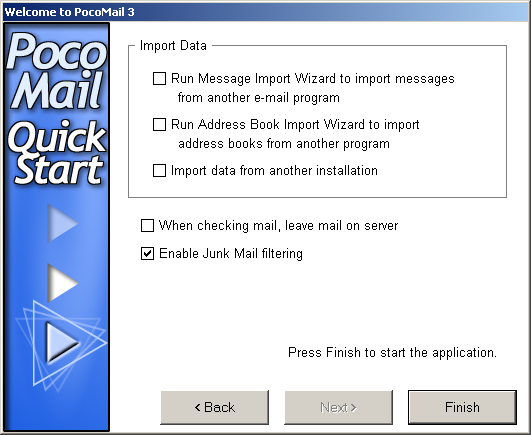
Import Data:
If you'd like to Import any data from previous e-mail clients select the appropriate options.
PocoMail has its own built-in junk mail filters to help filter out spam. To enable this feature, check the box Enable Junk Mail filtering.
You're almost done.
Click the Finish button to continue.
The main PocoMail screen appears.
On the Toolbar, click Tools and select Accounts Setup from the menu.
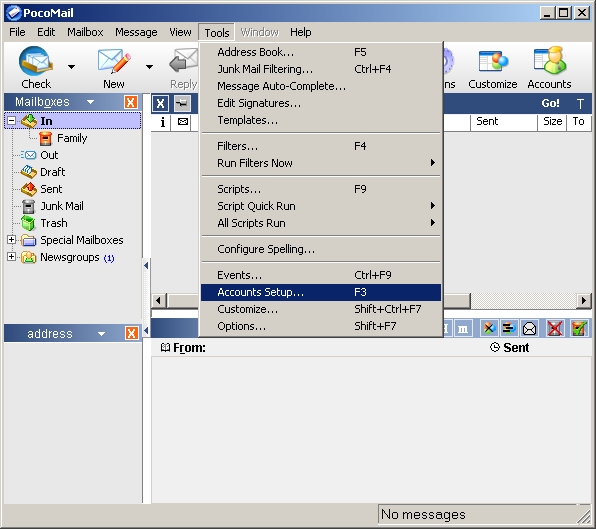
The E-mail Accounts window appears.
Highlight the new account and click the Edit button.
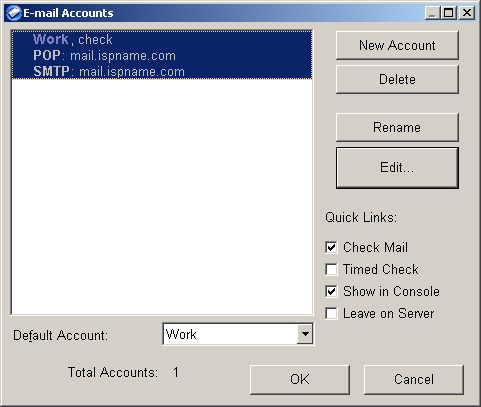
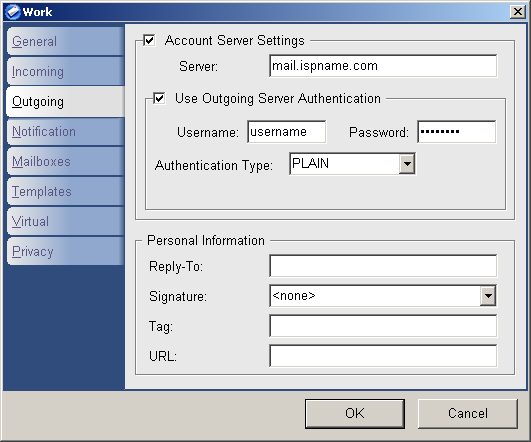
Select the Outgoing tab.
SMTP authentication is required to send e-mail. Without this enabled, you cannot send e-mail. SMTP authentication helps deter would-be spammers from spamming you. It is as simple as entering a username and a password.
Check the box Use Outgoing Server Authentication.
Username
=
Enter your e-mail username (everything before the @).
Password = Enter your e-mail password.
Authentication Type = Select PLAIN
from the menu.
Note: If PLAIN does not work, select LOGIN from the menu.
Click the OK button.
We return to the E-mail Accounts window.
Click the OK button to close the window.
Links: Return to top