 Editing
an existing e-mail account in Outlook 2003:
Editing
an existing e-mail account in Outlook 2003:Editing
an existing e-mail account in Outlook 2003:
This tutorial covers how to edit an existing e-mail account in Outlook. Just follow the steps below:
On the Toolbar, click Tools and select E-mail Accounts from the menu.
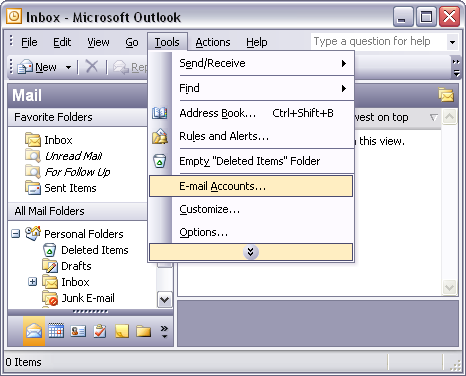
The E-mail Accounts window opens.
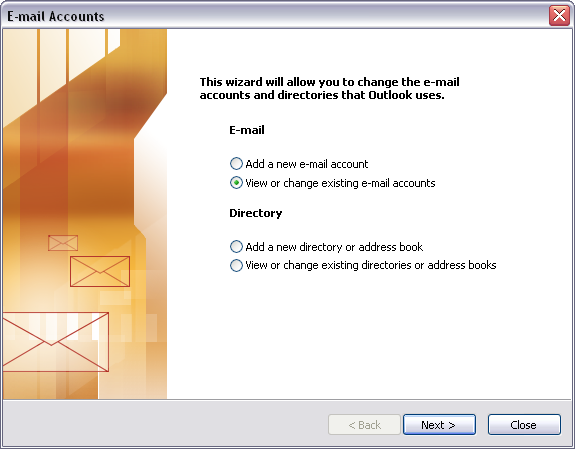
Select View or change existing e-mail accounts.
Click Next to continue.
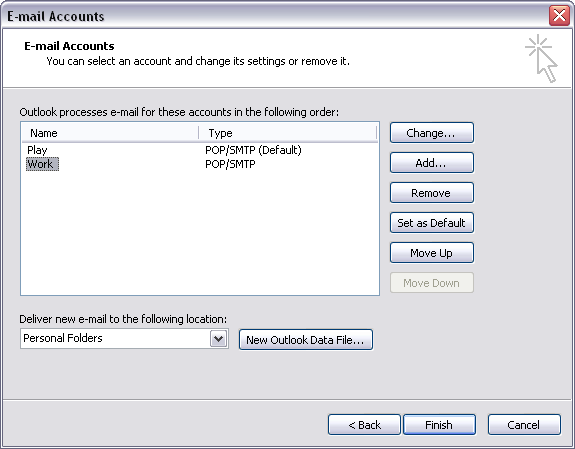
The E-mail Accounts window appears.
Highlight the account you'd like to edit and click Change.
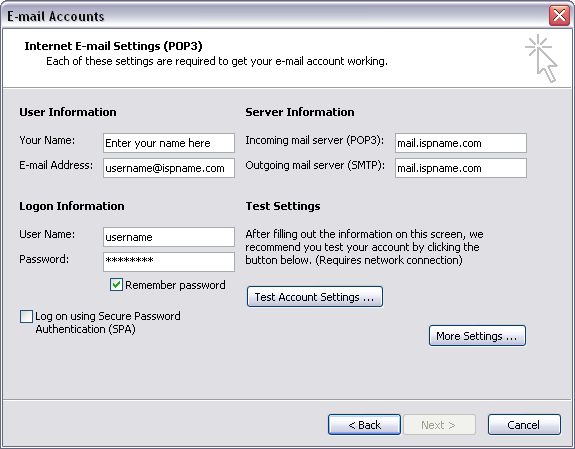
E-mail Accounts screen:
User Information:
Your Name = Enter your name.
E-mail Address = Enter your e-mail address.
Server Information:
Incoming mail server (POP3) = mail.dwx.com
Outgoing mail server (SMTP) = mail.dwx.com
Logon Information:
User Name = Enter your e-mail username (everything before the @).
Password = Enter the password to the e-mail account.
Important: Passwords are case-sensitive. Ensure your Caps Lock is disabled.
Check the box Remember password.
Click the More Settings button.
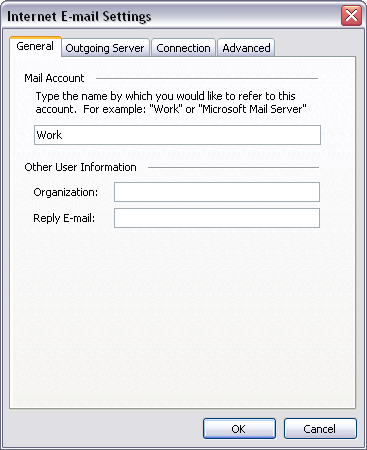
General tab:
Mail Account = Give the mail account a name. If you plan on making more than one e-mail account, be distinctive.
Select the Outgoing Server tab.
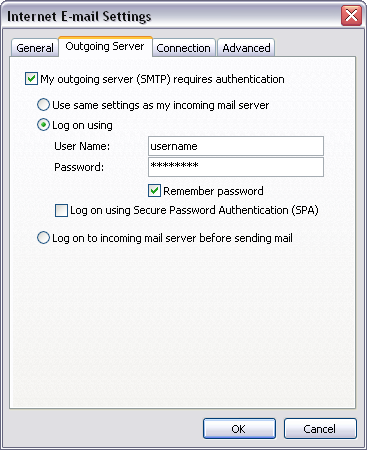
Outgoing Server tab:
SMTP authentication is required to send e-mail. Without this enabled, you cannot send e-mail. You'll probably see error '550'. SMTP authentication helps deter would-be spammers from spamming you. It is as simple as entering a username and a password.
Check the box My outgoing server (SMTP) requires authentication.
Do any one of the following:
Select Use same
settings as my incoming mail server, or
Select Log on using, and enter
User Name
=
Enter your e-mail username (everything before the @).
Password = Enter the password of the e-mail account.
Important: Passwords are case-sensitive. Ensure the
Caps Lock is disabled.
Check the box Remember password.
Select the Connection tab.
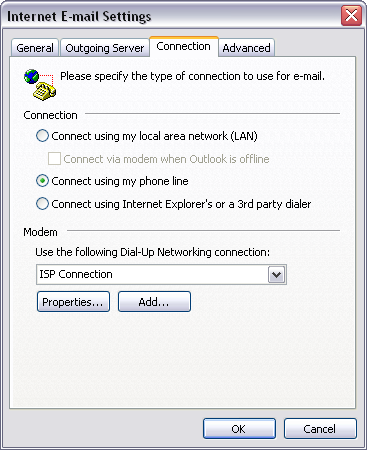
Enabling Outlook XP to connect to the Internet:
Connection tab:
If enabled, when you launch Outlook XP, it can connect to the Internet using your dial-up connection. To enable this feature, do the following:
Select Connect using my phone
line.
Use the following Dial-Up
Networking connection = from the drop-down
menu, select the Internet connection you'd like Outlook to use to connect to
the Internet.
Select the Advanced tab.
The Advanced tab:
The advanced tab contains information on the port numbers of the incoming and outgoing server ports.
You can also choose to leave a copy of the messages on the server.

We return to the E-mail Accounts window.
Click Next to continue.
You're done.
Click Finish to complete the wizard.
Links: Return to top